From a few photos to insoles built for your feet
Here's exactly what happens after you start a custom-fit request — including how to take photos that actually help us get your fit right.
Tell us about your feet
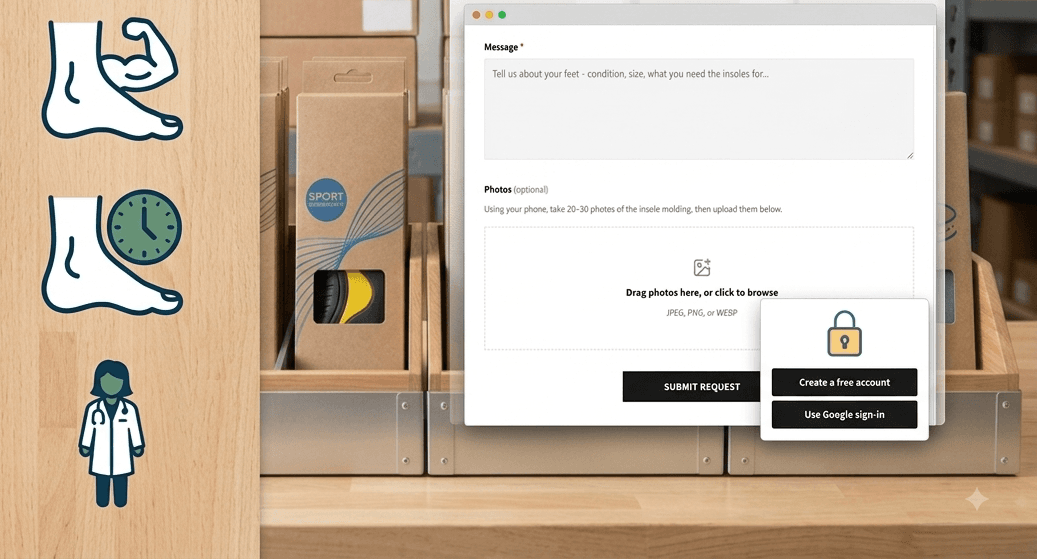
Describe what's going on
A short description is enough to start — what part of your foot bothers you, when it happens, and anything a doctor may have told you.
- You'll need to be signed in to submit — create a free account or use Google sign-in
- A written description is all that's required; photos are optional but help us get the fit right
Take photos of your foam imprint
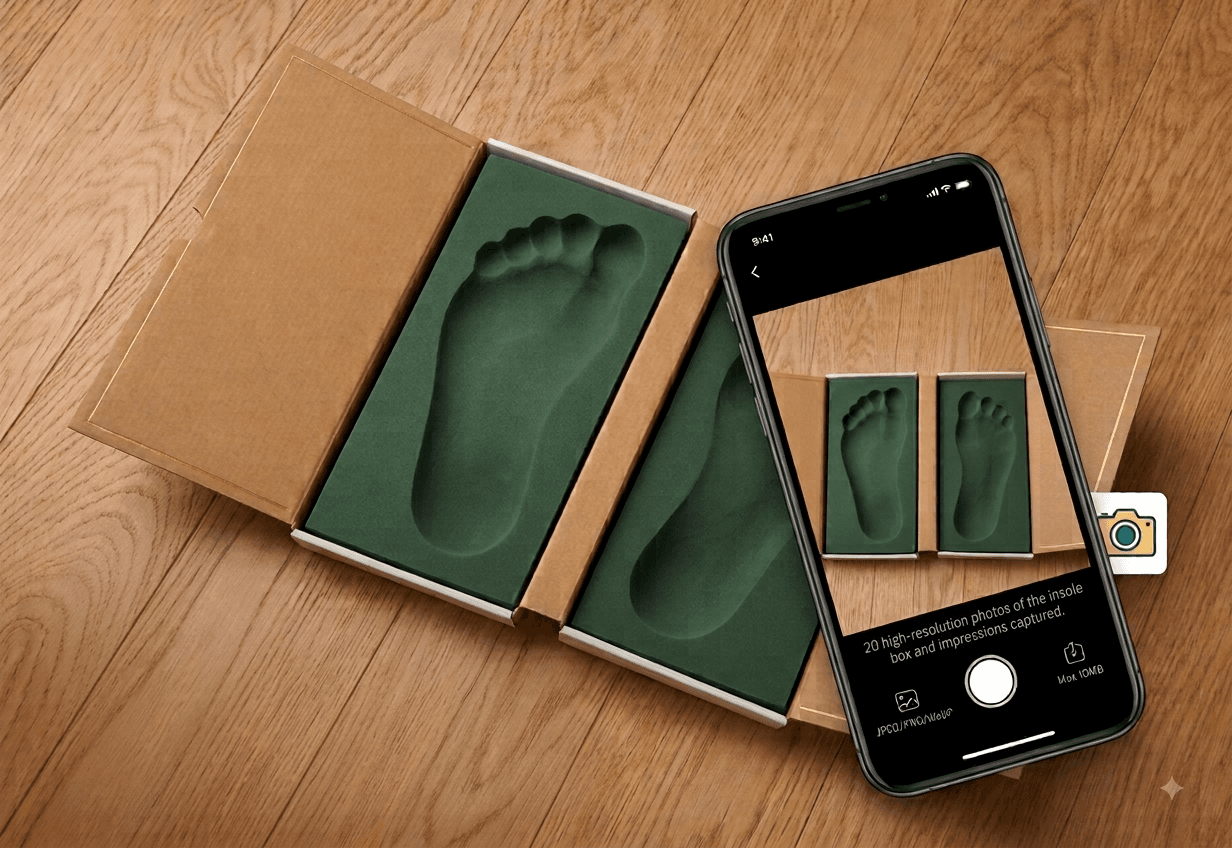
A good photo saves everyone time
We'll mail you a custom imprint foam kit. Step onto it to capture the exact shape of your feet, then photograph the imprint — not your bare feet — so we can see the full detail.
- We need at least 20 photos of the imprint, taken from different angles, to build an accurate fit
- JPEG, PNG, or WebP, up to 10MB per photo
- Just photos for now — no scan or prescription upload yet
We review and send a quote
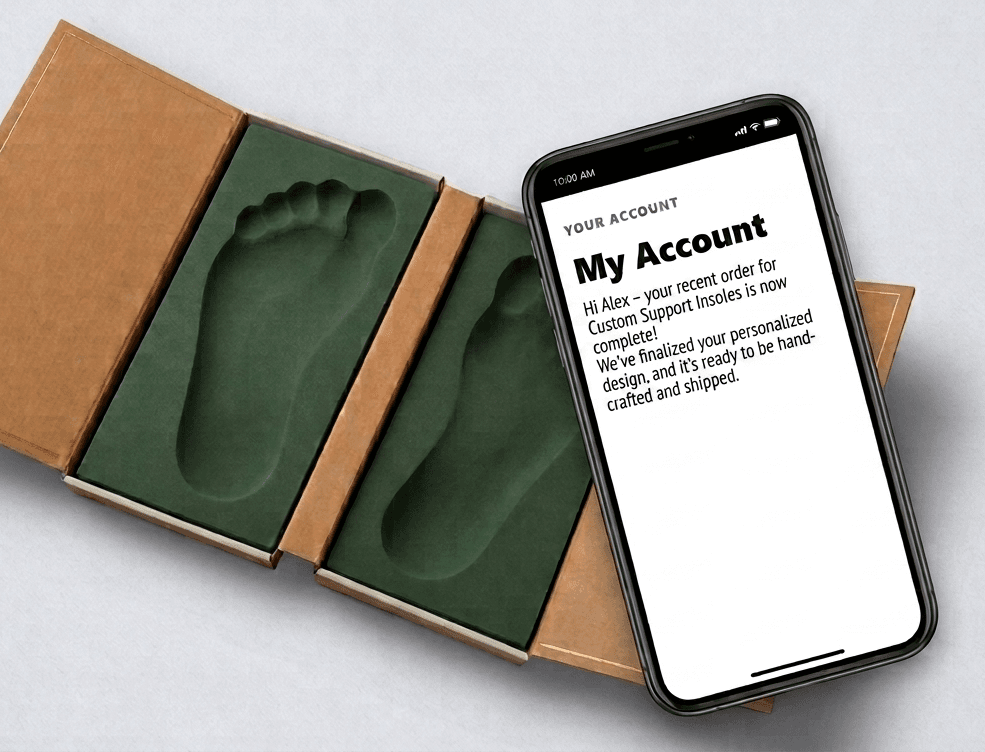
You approve the price before anything is made
We look at your description and photos, then send back a price and any notes. Nothing goes into production until you accept it from your account.
- If you decline, the request is closed at no cost — email us if you'd rather discuss a different price
We build it and ship it to you
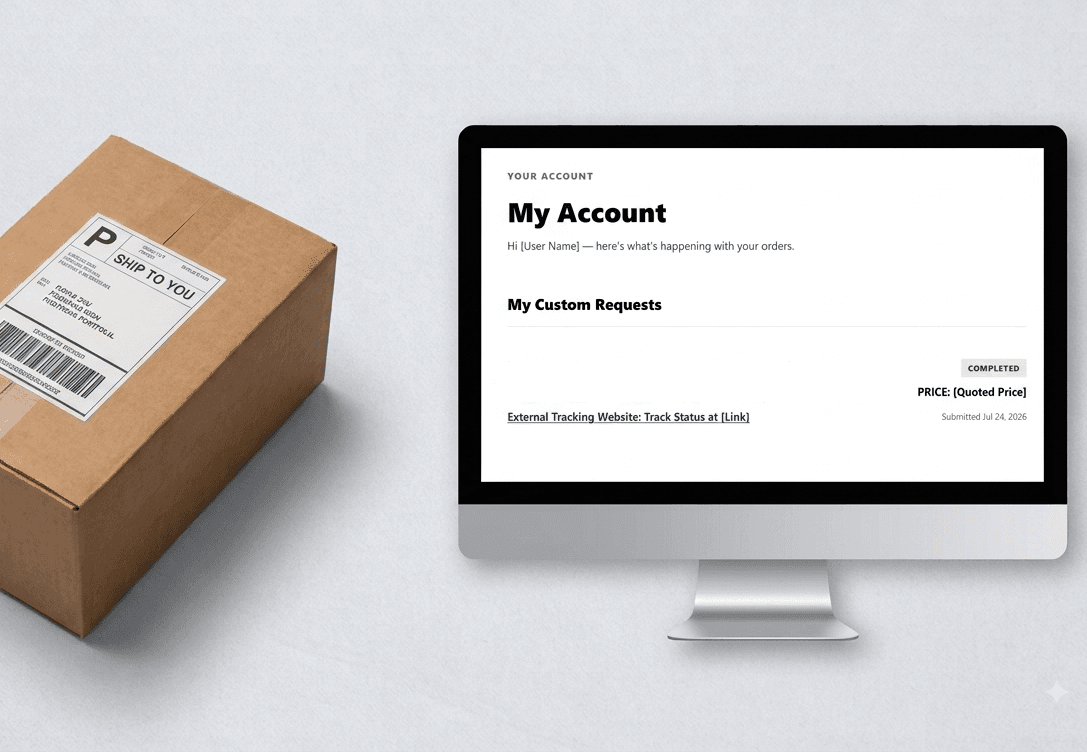
Track it from your account
Once you accept the quote, your request moves into production. You can check its status any time from your account.
A mobile app for scanning your feet

Skip the photos — scan instead
We're building a mobile app that uses your phone's camera to scan your feet directly, instead of taking photos by hand. It's still in development, but it's next on our roadmap.
Ready to get a fit built for your feet?
Two minutes to describe your feet — no account needed to begin.